如何使用 Quasar + Vue 3 + Pinia + Fabric.js + WebSocket 打造高效互動式白板
in Blog Last modified at:
前言
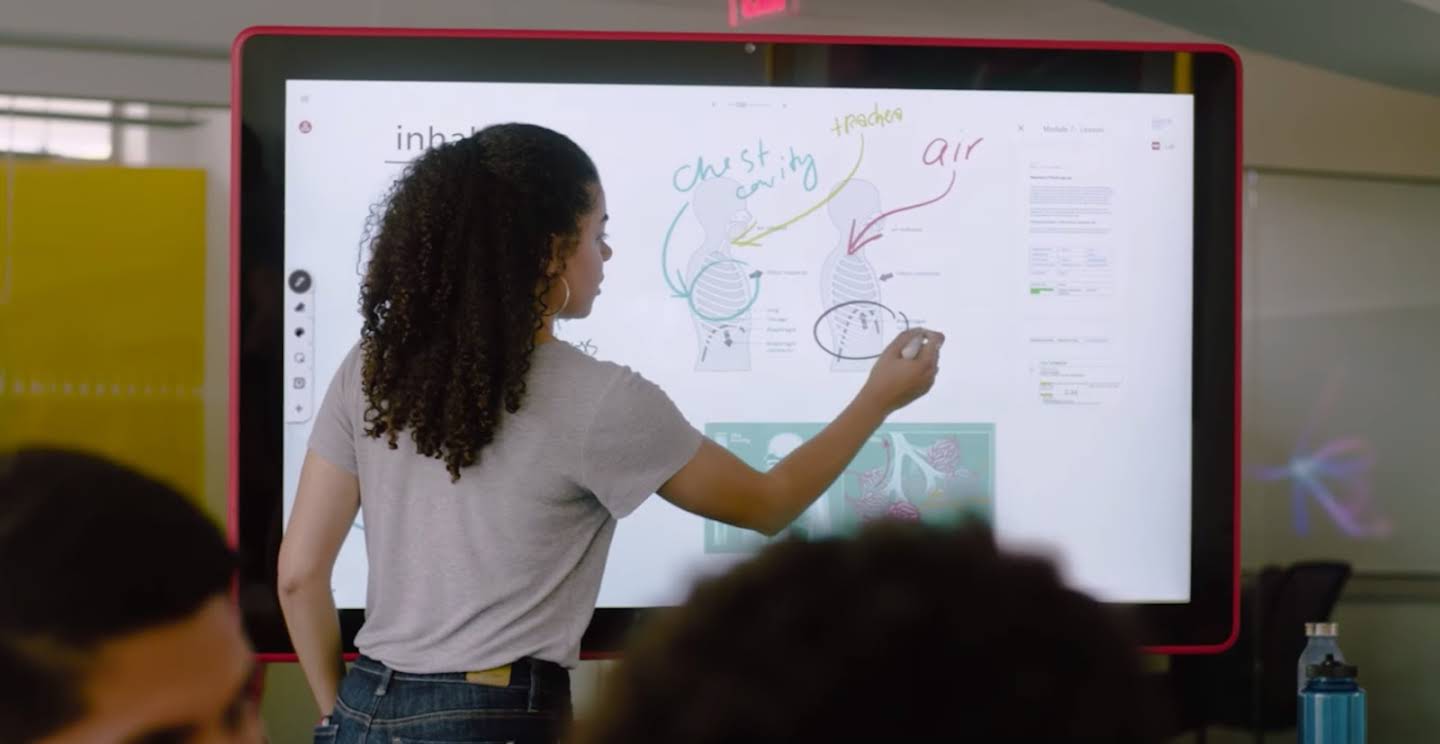
在本文中,我們將深入探討如何使用 Quasar 框架、Vue 3、Pinia、Fabric.js 和 WebSocket 技術來構建一個高效的電子白板應用。該應用將支持多用戶實時協作,並提供繪圖、註解、拖拉、放大、複製等多種功能,旨在提升用戶的互動體驗。
進階技巧
1. 安裝必要的依賴
首先,我們需要安裝 Quasar、Vue 3、Pinia、Fabric.js 和 Socket.IO 的相關依賴:
npm install quasar vue@next pinia fabric socket.io-client
2. 配置 Quasar 應用
接下來,我們需要初始化 Quasar 應用並配置路由和狀態管理:
// src/boot/quasar.js
import { boot } from 'quasar/wrappers';
import { createPinia } from 'pinia';

export default boot(({ app }) => {
  const pinia = createPinia();
  app.use(pinia);
});
3. 創建 Pinia 狀態管理
我們將創建一個 Pinia store 來管理白板的狀態,確保應用的數據流暢通無阻:
// src/stores/whiteboard.js
import { defineStore } from 'pinia';

export const useWhiteboardStore = defineStore('whiteboard', {
  state: () => ({
    drawings: [],
  }),
  actions: {
    addDrawing(drawing) {
      this.drawings.push(drawing);
    },
  },
});
4. 創建白板組件
我們將創建一個白板組件,使用 Fabric.js 來處理繪圖、拖拉、放大、複製等功能,並確保用戶界面友好:
<!-- src/components/Whiteboard.vue -->
<template>
  <div>
    <canvas id="canvas" ref="canvas" @mousedown="startDrawing" @mouseup="stopDrawing" @mousemove="draw"></canvas>
    <div>
      <input type="color" v-model="currentColor" />
      <button @click="addRectangle">矩形</button>
      <button @click="addCircle">圓形</button>
      <button @click="undo">復原</button>
      <button @click="redo">重做</button>
      <input type="file" @change="addImage" />
    </div>
  </div>
</template>

<script>
import { ref, onMounted } from 'vue';
import { useWhiteboardStore } from '../stores/whiteboard';
import { io } from 'socket.io-client';
import { fabric } from 'fabric';

export default {
  setup() {
    const canvas = ref(null);
    const store = useWhiteboardStore();
    const socket = io('http://localhost:3000');
    let isDrawing = false;
    const currentColor = ref('black');
    const fabricCanvas = ref(null);
    const history = ref([]);
    const redoStack = ref([]);

    onMounted(() => {
      fabricCanvas.value = new fabric.Canvas(canvas.value);
      socket.on('drawing', (drawing) => {
        // 處理接收到的繪圖
      });
    });

    const startDrawing = (event) => {
      isDrawing = true;
      // 繪圖邏輯
    };

    const stopDrawing = () => {
      isDrawing = false;
      // 保存狀態到歷史
      history.value.push(fabricCanvas.value.toJSON());
      redoStack.value = []; // 清空重做堆疊
    };

    const draw = (event) => {
      if (!isDrawing) return;
      // 繪圖邏輯
    };

    const addRectangle = () => {
      const rect = new fabric.Rect({
        left: 100,
        top: 100,
        fill: currentColor.value,
        width: 50,
        height: 50,
      });
      fabricCanvas.value.add(rect);
    };

    const addCircle = () => {
      const circle = new fabric.Circle({
        left: 100,
        top: 100,
        fill: currentColor.value,
        radius: 25,
      });
      fabricCanvas.value.add(circle);
    };

    const undo = () => {
      if (history.value.length > 0) {
        redoStack.value.push(history.value.pop());
        fabricCanvas.value.loadFromJSON(history.value[history.value.length - 1]);
      }
    };

    const redo = () => {
      if (redoStack.value.length > 0) {
        const state = redoStack.value.pop();
        history.value.push(state);
        fabricCanvas.value.loadFromJSON(state);
      }
    };

    const addImage = (event) => {
      const file = event.target.files[0];
      const reader = new FileReader();
      reader.onload = (e) => {
        fabric.Image.fromURL(e.target.result, (img) => {
          fabricCanvas.value.add(img);
        });
      };
      reader.readAsDataURL(file);
    };

    return { canvas, startDrawing, stopDrawing, draw, currentColor, addRectangle, addCircle, undo, redo, addImage };
  },
};
</script>

<style scoped>
canvas {
  border: 1px solid #ccc;
  width: 100%;
  height: 500px;
}
</style>
5. 在主應用中使用白板組件
最後,我們需要在主應用中引入並使用白板組件,以便用戶可以輕鬆訪問:
<!-- src/App.vue -->
<template>
  <div id="app">
    <Whiteboard />
  </div>
</template>

<script>
import Whiteboard from './components/Whiteboard.vue';

export default {
  components: {
    Whiteboard,
  },
};
</script>

<style>
#app {
  font-family: Avenir, Helvetica, Arial, sans-serif;
  text-align: center;
  color: #2c3e50;
  margin-top: 60px;
}
</style>
總結
通過掌握這些進階技巧和最佳實踐,開發者可以使用 Quasar、Vue 3、Pinia、Fabric.js 和 WebSocket 技術高效地構建一個完整的電子白板應用,實現多用戶的實時協作,提升用戶的互動體驗。
- 安裝必要的依賴。
- 配置 Quasar 應用。
- 創建 Pinia 狀態管理。
- 創建白板組件。
- 在主應用中使用白板組件。